
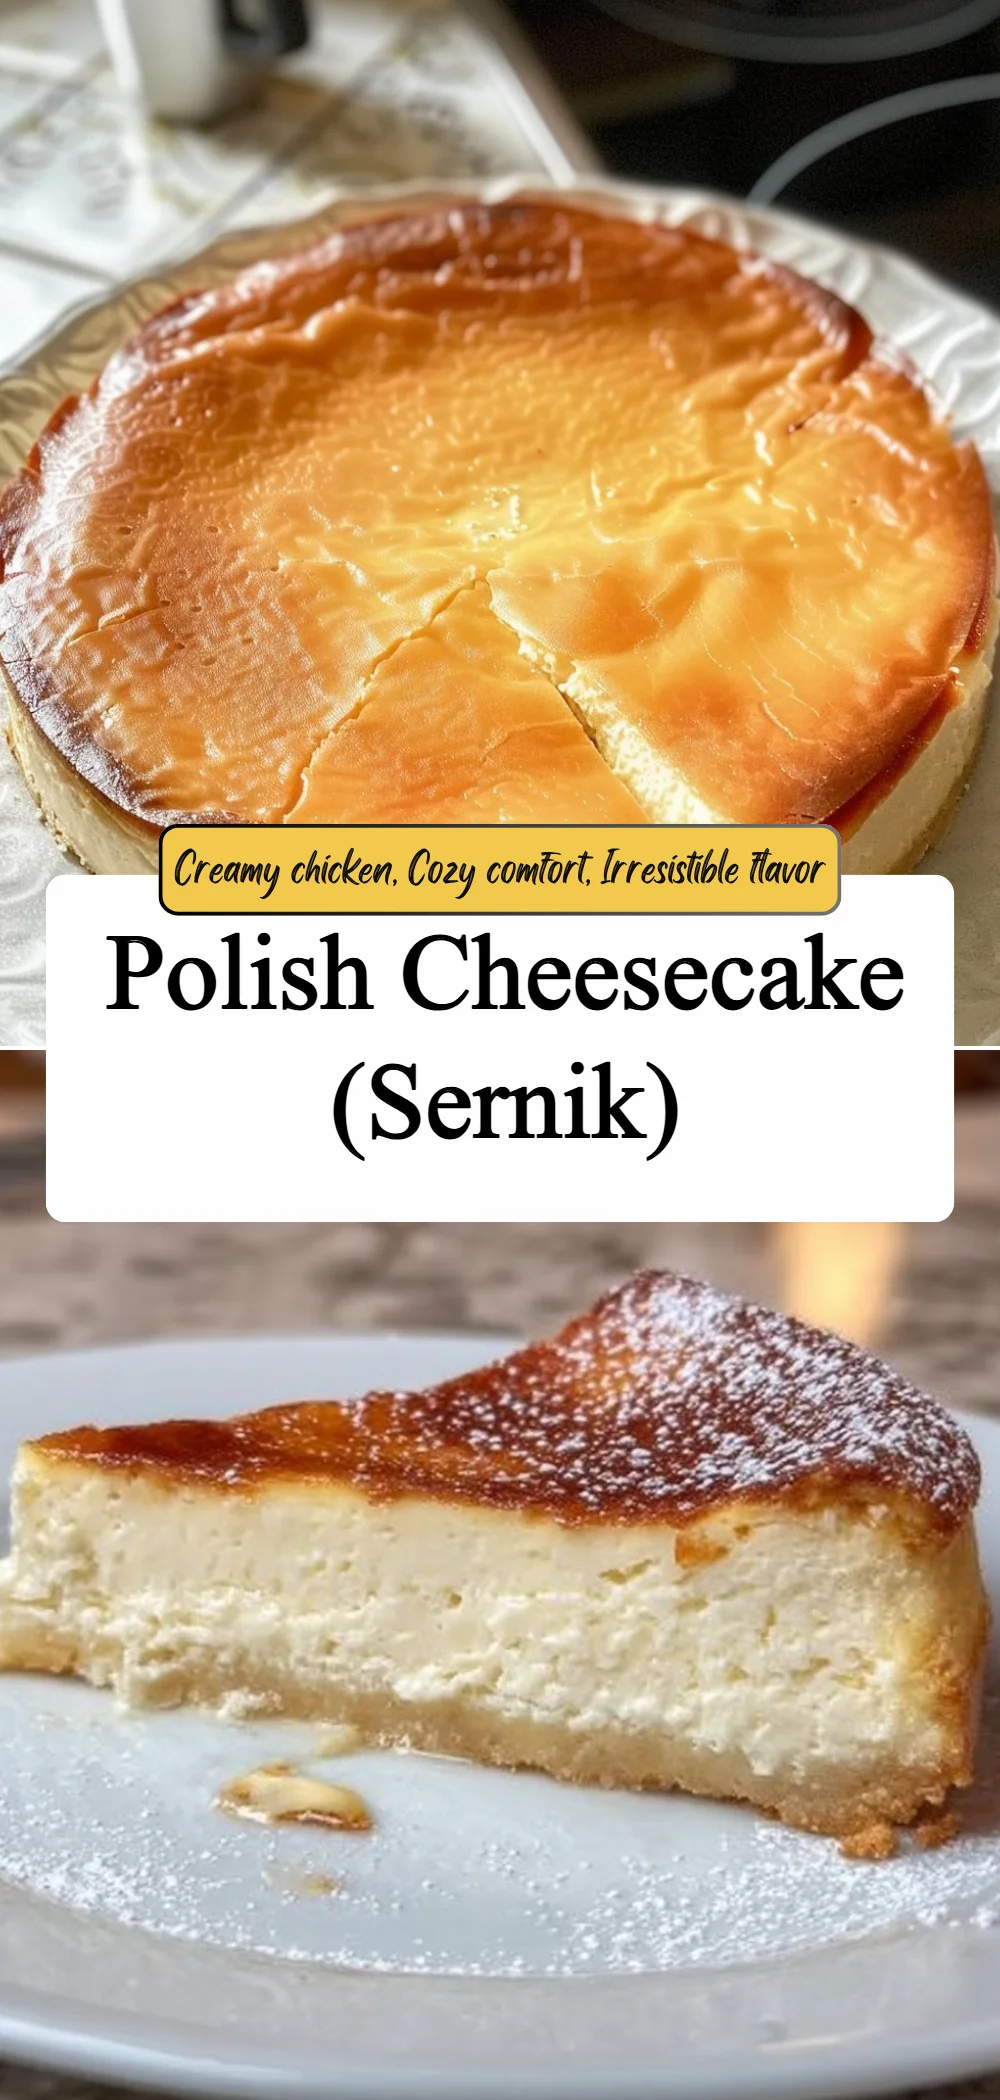
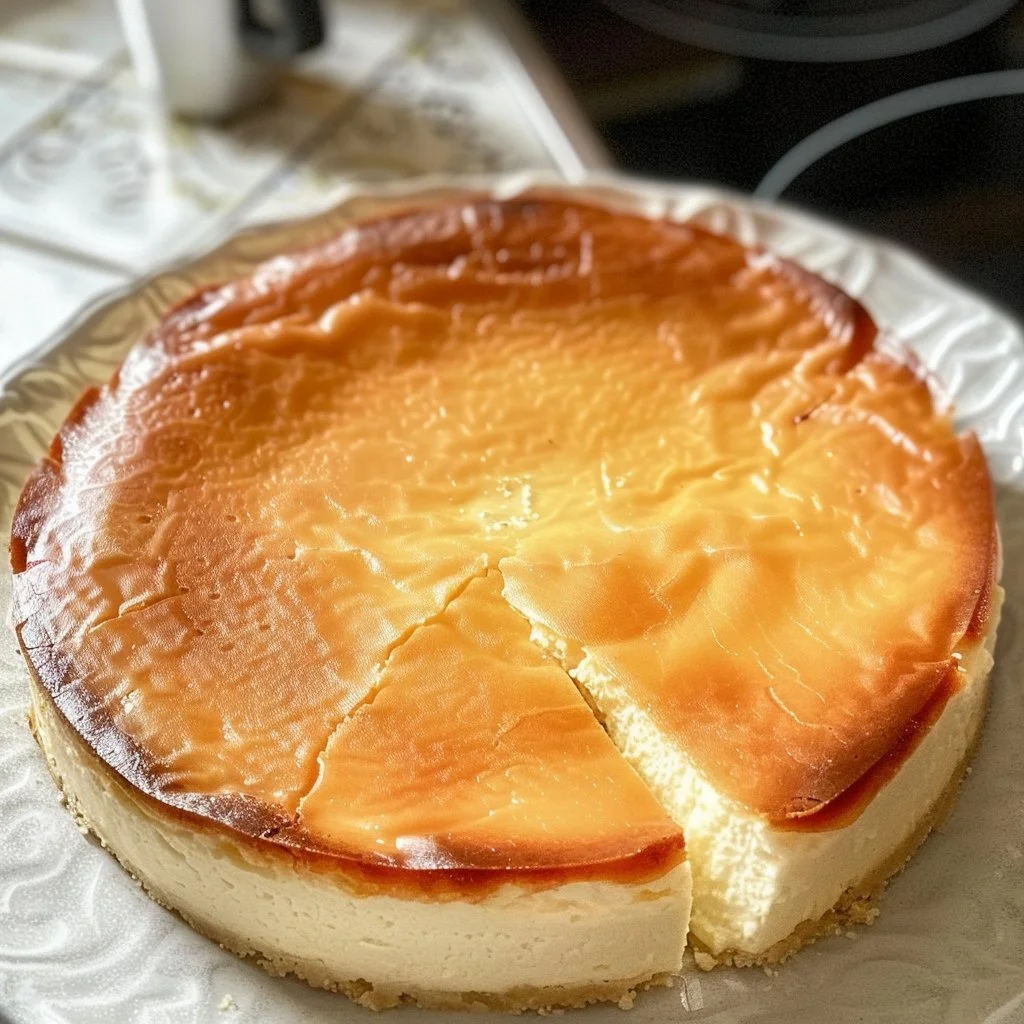
Polish Cheesecake (Sernik)
A Delightful Dessert Experience
INTRODUCTION
In the heart of every kitchen lies a sense of warmth that only home-cooked meals can bring. Picture a gathering of loved ones, where the aroma of freshly baked treats fills the air, creating an inviting atmosphere perfect for sharing stories and laughter. Polish cheesecake, known as Sernik, embodies this essence, offering a comforting and delightful culinary experience. Each creamy slice is designed to melt in your mouth, evoking a sense of nostalgia and joy. Whether celebrating an occasion or simply indulging on a quiet evening, this cheesecake reminds us of the joy that cooking and sharing food can bring to our lives.
Quick Recipe Overview
- Prep Time: 20 minutes
- Cook Time: 50-60 minutes
- Total Time: 4 hours and 20 minutes (including cooling time)
- Servings: 8-10
- Difficulty: Easy
- Cuisine: Polish
- Best Season: Year-round
Why You’ll Crave This Cheesecake
- Flavorful Indulgence: The combination of farmer’s cheese and lemon creates a creamy, tangy delight that tantalizes the taste buds with every bite. Its rich texture is complemented by the subtle sweetness of sugar, making it irresistible.
- Effortless Preparation: With simple steps and readily available ingredients, this recipe is perfect for both novice and experienced bakers alike. The ease with which it comes together allows you to focus on enjoying the process rather than stressing about complicated techniques.
- Perfect for Any Occasion: Whether it’s a birthday celebration, holiday dinner, or just a casual weeknight treat, Polish cheesecake fits in beautifully. Its elegant appearance and delicious taste make it a crowd-pleaser that elevates any gathering.
- Comfort Food at Its Best: The familiar flavors of this dessert evoke cherished memories, making it a comforting choice for those looking to relive sweet moments. Each slice brings a sense of nostalgia that connects us to traditions and loved ones.
Key Ingredients for Sernik
- 2 pounds of farmer’s cheese or cream cheese
- 1 cup of sugar
- 1 teaspoon of vanilla extract
- 3 large eggs
- 1/2 cup of sour cream
- 1 tablespoon of lemon juice
- 1 teaspoon of lemon zest
- 1/4 cup of butter, melted
- 1 pre-made graham cracker crust or sponge cake (optional)
Ingredient Insights for Success
- Farmer’s Cheese/Cream Cheese: Opt for full-fat varieties for a creamier texture. If using farmer’s cheese, ensure it is well-drained to avoid excess moisture.
- Sugar: Granulated sugar is preferred, but feel free to experiment with coconut sugar or maple sugar for a unique twist.
- Lemon Juice & Zest: Freshly squeezed lemon juice enhances the flavor significantly compared to bottled options. The zest adds a bright aroma, intensifying the cheesecake’s refreshing taste.
- Sour Cream: This ingredient helps achieve a silky finish. Select a full-fat version for the best results, ensuring a rich taste and creamy consistency.
Simple Steps to Create Your Cheesecake
- Preheat the oven to 350°F (175°C).
- In a large bowl, combine the cheese and sugar, mixing until smooth and well incorporated.
- Add in the vanilla extract, lemon juice, and lemon zest; mix well to create a flavorful base.
- Beat in the eggs one at a time, mixing until just combined with each addition to avoid overmixing.
- Stir in the sour cream and melted butter until smooth, ensuring every ingredient is well blended.
- Pour the mixture into the prepared crust or just greased springform pan, spreading it evenly.
- Bake for about 50-60 minutes, or until the center is set and the top is lightly browned.
- Allow to cool, then refrigerate for at least 4 hours or overnight before serving for the best set texture.
Expert Baking Tips and Techniques
- Mixing Method: When blending the cheese and sugar, aim for a smooth consistency to achieve a creamy texture in the cheesecake. Avoid incorporating too much air, which can lead to cracks during baking.
- Baking Time: Keep an eye on the cheesecake towards the end of the baking time. The top should be slightly golden, while the center should still be slightly jiggly, as it will firm up while cooling.
- Cooling Process: Allowing the cheesecake to cool slowly at room temperature before refrigerating helps prevent surface cracking. Avoid sudden temperature changes, which can be detrimental to the texture.
- Flavor Boost: Consider adding a splash of almond extract or using a flavored yogurt in place of plain sour cream for added depth to the flavor profile.
Creative Variations to Try
- Vegan Twist: Replace the farmer’s cheese with blended silken tofu or a vegan cream cheese alternative for a dairy-free version. Use a vegan graham cracker crust to maintain the integrity of the recipe.
- Citrus Delight: Experiment with other citrus fruits like lime or orange for the juice and zest. This refreshing twist can elevate your cheesecake to new flavor heights.
- Spiced Version: Add a pinch of cinnamon or nutmeg to the batter for a warm, comforting undertone that pairs beautifully with coffee or tea.
- Regional Flavors: Try integrating local flavors, such as a berry compote or chopped nuts mixed into the cheesecake base, to create a unique twist that reflects your culture.
Great Pairings for Serving
- Sides: Consider pairing your cheesecake with a simple fruit salad or fresh berries to add a light contrast to the creaminess of the cheesecake. A dollop of whipped cream can also be delightful for those who love extra richness.
- Drink: A cup of herbal tea or a refreshing lemonade complements the flavors beautifully, enhancing the overall experience with a balance of sweetness and acidity.
- Dessert: After enjoying your cheesecake, why not follow it up with light, airy meringues or a scoop of vanilla ice cream for a delightful textural contrast?
Preparing Ahead for Convenience
- Prep: You can make the cheesecake a day in advance to allow the flavors to meld and develop. Just handle the cooling time as noted.
- Storage: Store unused cheesecake slices in an airtight container in the fridge for up to five days, ensuring they remain fresh and delicious.
- Freezing: For longer storage, wrap slices tightly in plastic wrap, then place them in a freezer-safe bag. They can be frozen for up to two months.
- Reheating: Generally, cheesecake is best served chilled, but you can allow thawed slices to sit at room temperature for about 30 minutes before serving to enhance the flavor.
Serving Suggestions for the Perfect Presentation
Arrange slices neatly on dessert plates, garnished with a sprinkle of lemon zest and a few fresh berries for a pop of color. Serve them with your favorite tea or coffee in beautiful cups to create a cozy vibe. Enjoying Polish cheesecake in a warm, inviting atmosphere enhances the whole experience, making it feel special no matter the occasion.
Kitchen Secrets for Sernik Mastery
- Consistency Check: To ensure perfect consistency, mix the cream cheese and sugar until no lumps remain. This will lead to a smoother cheesecake without unexpected textures.
- Room Temperature Ingredients: For the best amalgamation of flavors, ensure all your ingredients are at room temperature before mixing them. This promotes an even baking process and a uniform texture.
- Avoid Overmixing: While combining eggs, do so with care; overmixing can lead to cracks in the finished product. Just mix enough to incorporate thoroughly.
- Top It Off: Consider a fruit glaze or simple dusting of powdered sugar before serving for visual appeal, showcasing your beautiful cheesecake creation.
Proper Storage for Long-Lasting Freshness
For best results when storing your cheesecake, it is recommended to keep it refrigerated. If necessary, you can use the microwave to warm individual slices briefly, but be cautious as too much heat can alter the texture. Alternatively, reheat slices gently on the stovetop using a warm pan to maintain its creamy consistency while avoiding the risk of overheating.
FAQ
What is the best way to prepare the cheesecakes crust?
For the best results, you can use a store-bought graham cracker crust or make your own by crushing graham crackers and combining them with melted butter. Press the mixture into a springform pan, creating an even layer that sets nicely during baking.
Can I make this cheesecake without lemon?
Absolutely! If lemon isn’t your preference, you can substitute it with vanilla or almond extract for a different flavor profile. The creaminess of the cheesecake still shines through, making it delightful.
How do I know when my cheesecake is done baking?
The cheesecake is done when the center is slightly jiggly but not liquid, and the edges look set. A slight golden hue on the top is also an indicator that it is ready to come out of the oven.
Is there a gluten-free option for the crust?
Yes, you can make a gluten-free crust by using gluten-free graham crackers or ground almonds mixed with melted butter. This allows everyone to enjoy the cheesecake without dietary concerns.
How long does the cheesecake need to chill before serving?
Cooling the cheesecake for at least 4 hours is essential for it to set properly, but for optimal results, refrigerating it overnight is recommended. This ensures the flavors have time to meld and enhances the texture.
Can I add fruit toppings to my cheesecake?
Definitely! Fresh strawberries, blueberries, or a raspberry compote can add a burst of flavor and freshness. Just add the toppings right before serving for the best presentation and flavor.
How do I avoid cracks in my cheesecake?
To minimize cracks, avoid overmixing your batter, which can incorporate too much air. Additionally, consider baking in a water bath, which helps regulate temperature and keeps the cheesecake moister.
Nutrition Info
- Serving Size: 1 slice
- Calories: 350
- Protein: 8g
- Carbs: 32g
- Fat: 22g
- Fiber: 1g
- Sugar: 15g
Nutrition facts are estimates and may vary.
A Heartfelt Reflection on Cooking
Cooking is more than just a routine; it’s a way to connect with our roots and a means of expressing love. Recipes like Polish cheesecake bring people together, creating moments that are cherished across generations. Each slice embodies the sweetness of community and culture, inviting us to share in its delightful flavors and celebrate the bonds that unite us through food.
Concluding Thoughts
With its creamy texture and delightful taste, Polish cheesecake, or Sernik, is truly a dessert that brings joy to any table. We invite you to dive into this delightful experience, sharing it with friends and family, and savoring the comfort it brings. So gather your ingredients, and let’s embark on this flavorful journey together—don’t forget to share your creations and pin your favorite moments!
Polish Cheesecake
Ingredients
Method
- Preheat the oven to 350°F (175°C).
- In a large bowl, combine the cheese and sugar, mixing until smooth and well incorporated.
- Add in the vanilla extract, lemon juice, and lemon zest; mix well to create a flavorful base.
- Beat in the eggs one at a time, mixing until just combined with each addition to avoid overmixing.
- Stir in the sour cream and melted butter until smooth, ensuring every ingredient is well blended.
- Pour the mixture into the prepared crust or just greased springform pan, spreading it evenly.
- Bake for about 50-60 minutes, or until the center is set and the top is lightly browned.
- Allow to cool, then refrigerate for at least 4 hours or overnight before serving for the best set texture.